Graph Paper, a Clipboard and a Pencil Are All You Need
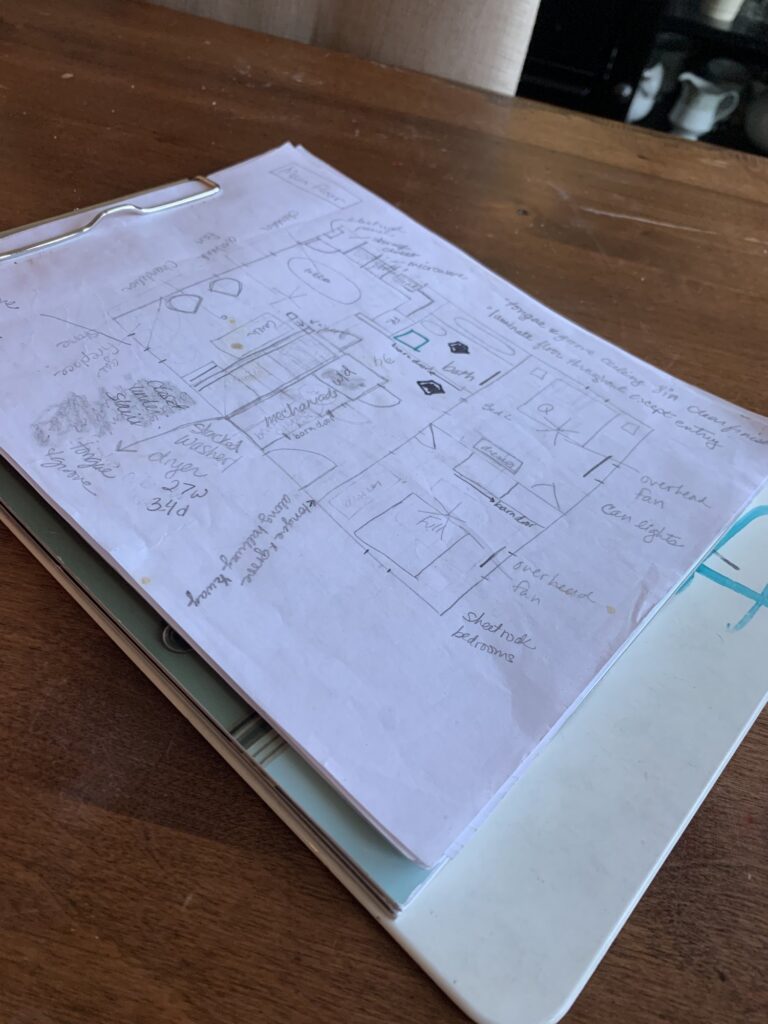
Old school is sometimes the best way. In this case, a clipboard holds all our “doodles” and paint chips for the lake house renovation.
When doing a whole house renovation over a long period of time, there is a opportunity to forget what decisions you made or change you mind. To help us from having the same conversations over and over, John and I use a very analog method – the clipboard.
I’m sure there are lots more high tech ways to manage a project (and I’ve tried a few) but for us, this works. We use it in concert with Pinterest boards to keep track of products and ideas.
Creating a Renovation Plan
Basically, on separate pieces of white or graph paper with pencil I sketch out an overhead view of each room with windows and doors. I add door swings or other immovable objects (closets, room jog, etc.). If I’m trying to figure out a specific configuration or how furniture or cabinets might fit in a room, I draw it to scale (usually a graph block equals six inches). I use post-it notes cut to scale to indicate furniture, cabinets, appliances, etc. since they are easy to move around and help me see how things might fit.
Then I draw the floor plan for the whole house incorporating the designs from the individual rooms. This gives me an overview and helps me see if there are any changes we’re planning to make that will impact other rooms – like moving a staircase that might block a window or changing the swing of a door that will impede traffic flow.
For the lake house, one of the decisions that is constantly in flux is what will be shiplap and what will be drywall. We change our minds almost every time we’re there. I drew the whole main floor and just indicated with arrows what the wall covering will be. And I erased and rewrote a bunch of times!
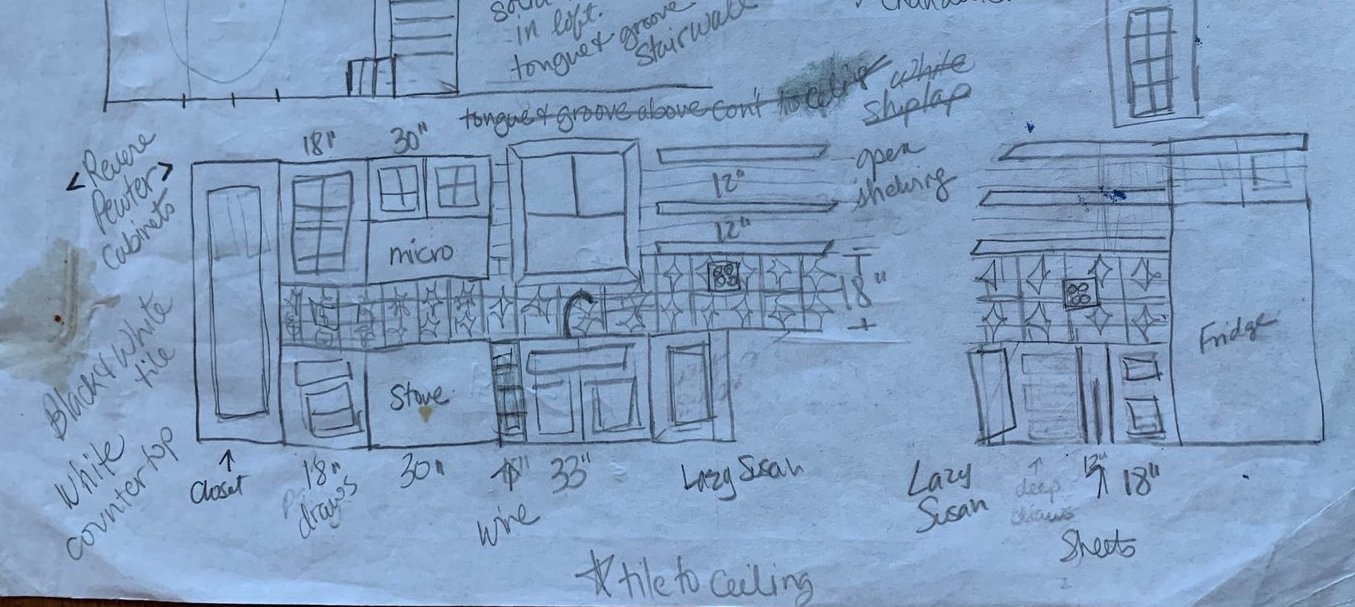
The kitchen and living room sketch give a rough idea of how things will be laid out with cabinets and appliances. Since we bought cabinets from ReStore, we needed to adjust a bit on the fly given the sizes we had.
Of course, especially with an old house, these doodles are just a guideline since there are always issues once you start the actual construction. For example, the cabinet configuration on my doodle doesn’t match the final layout. Rooms aren’t plumb and level. The cabinets needed some fixing. The biggest change was we had talked about moving the window over to accomodate the cabinets we had. Ultimately, we decided to work with what we had to save time and money.
I make lots of notes – sizes, products, paint colors, issues that need solving, and more. As long as don’t lose it, this clipboard is helps to keep us on track.