Lots of transitions going on with the kiddos – our oldest headed to college on Labor Day, our youngest started high school the following day and our middle is a junior in high school.
It seemed like a good time to transition the office into a bedroom for Connell so the girls could each have their own rooms.
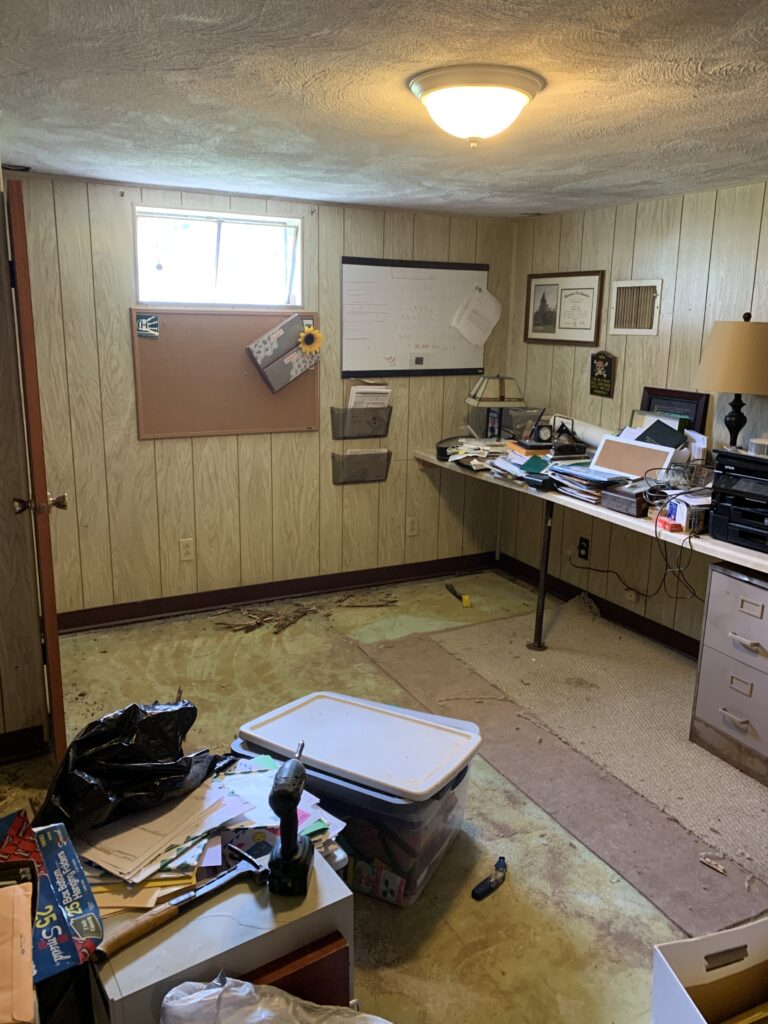
The biggest part of turning the office into a bedroom was moving everything out of the office. We are still in the process of relocating all of the files, old school artwork and books that were in the office.
We completed this project over a weekend – doing the prep work on Saturday and the install on Sunday.
Preparing the Room

Like any job, the prep work is key.
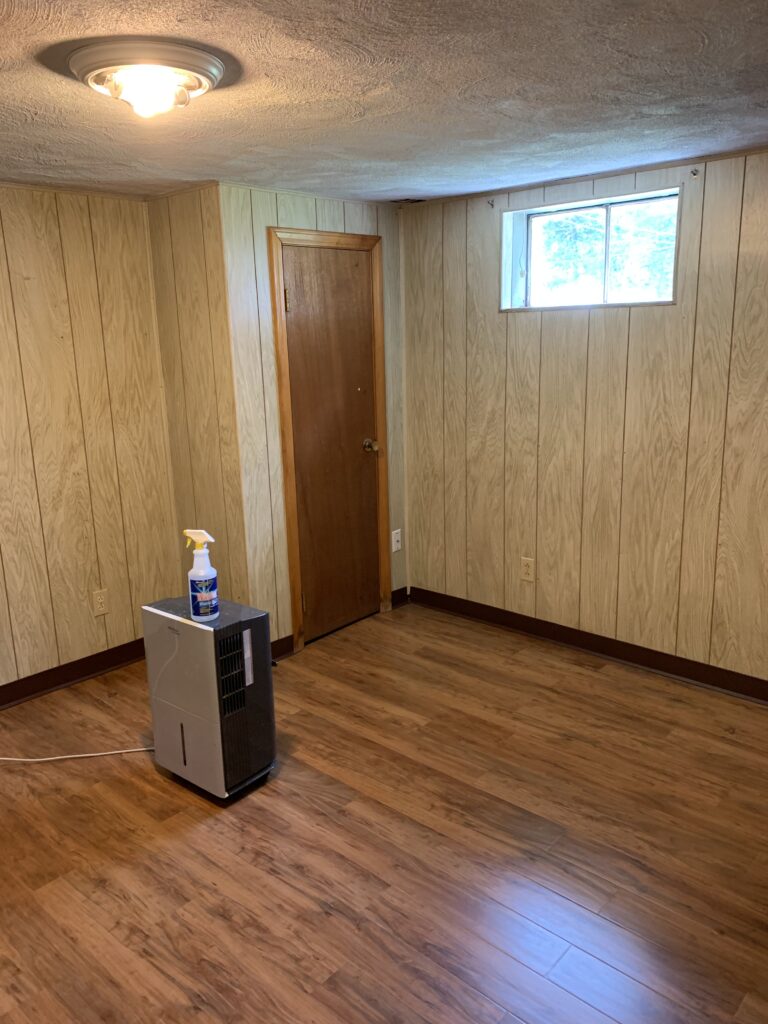
Once the room was cleared, John and I pulled up the rug and removed the rug tacks. I had the fun job of removing the nails in the concrete, most popped out using a pry bar. For the ones that heads popped off, I had to grind the nails flush using the Mikita angle grinder with a cut off blade.
Since it is a basement, there was a little bit of mildew so we used RMR to kill any mold spores and remove the dog urine smell. We washed the pressed board walls with TSP.
Products & Tools
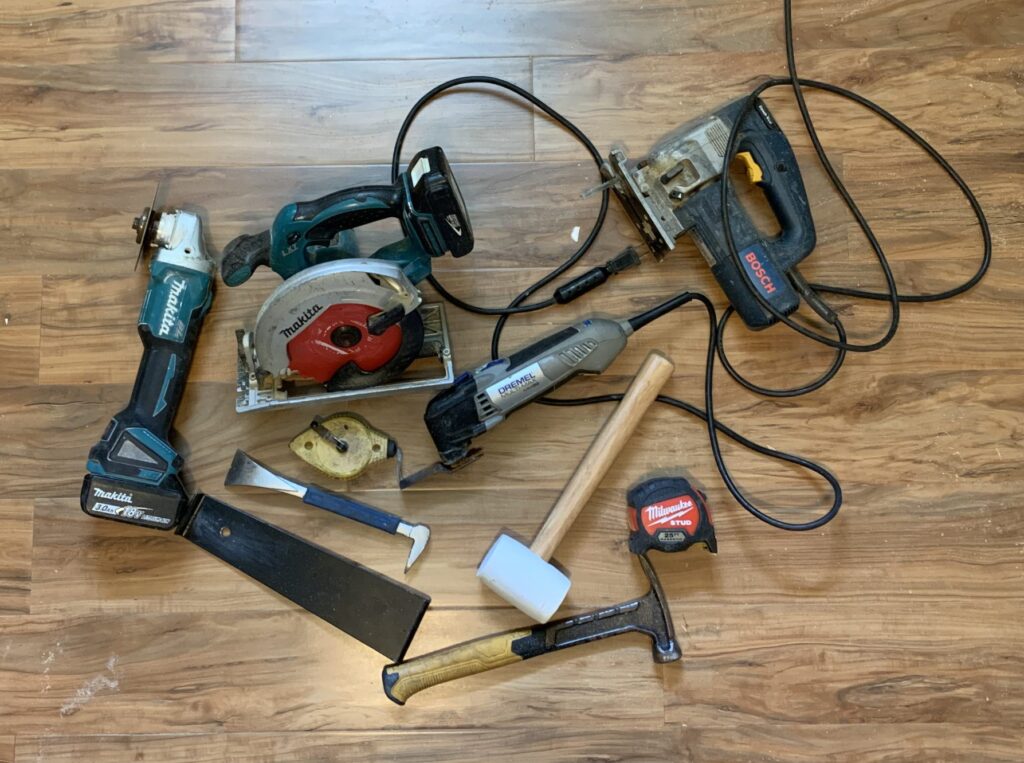
We used the following tools – tape measure, chalk line, rubber mallet, framing square, cordless circular saw, pry bar, and hitting block.
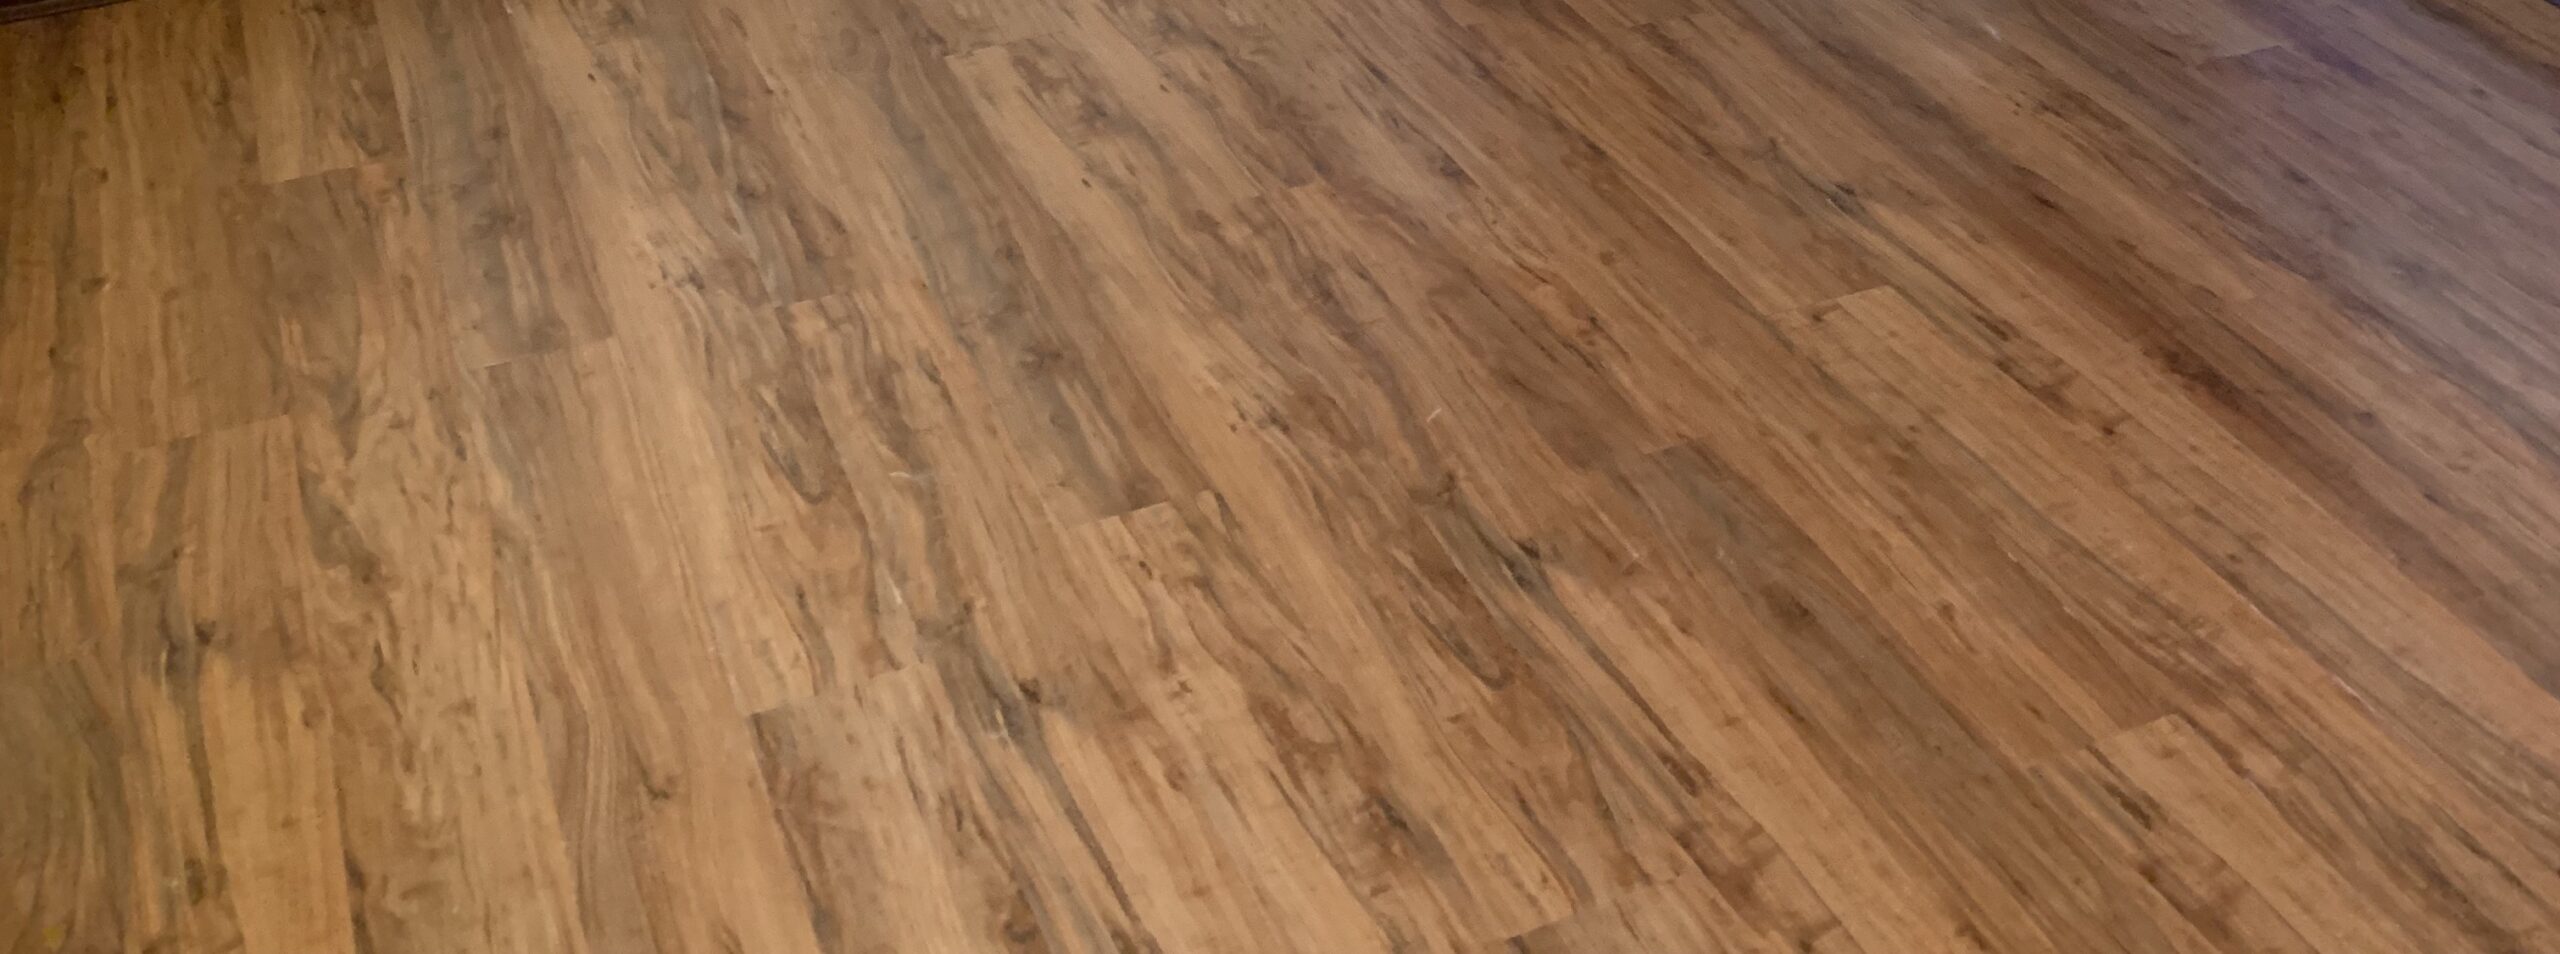
We decided to go with a floating floor for several reasons – it would be quick to install, it is forgiving on uneven surfaces, has a built in vapor barrier and reasonably priced. Home Depot had several different products in stock, we used the Pergo Outlast in Applewood. We liked the warm tone and realistic wood finish (I even thought we cracked it the finish is so real looking).
Installing the Pergo Flooring
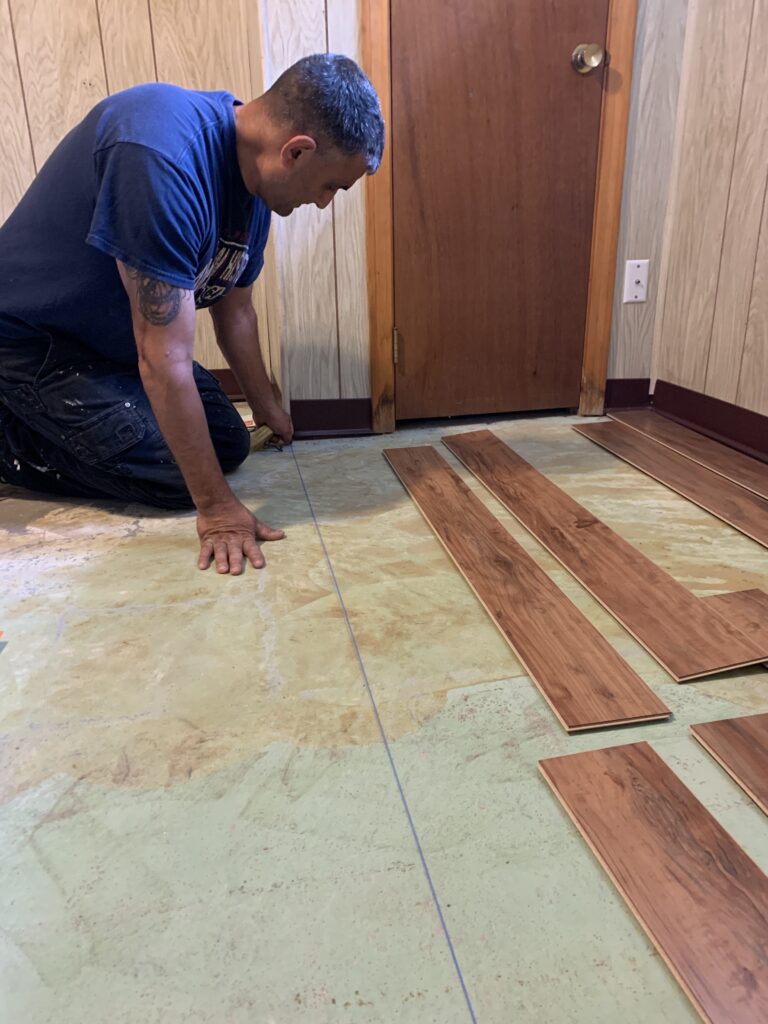
After we undercut the door moulding, we snapped lines to make sure the flooring was parallel and perpendicular to the walls to start laying out the floor. Because we were not removing the the panelling on the walls, we also left the rubber trim. This made it a little more difficult to install because we needed to lift the moulding while sliding the pieces into place. Just be sure to leave the appropriate gap along the walls as it is a floating floor and will expand and contract with temperature and humidity.
Make sure as you are measuring pieces to cut that you are measuring from the top, finished piece of the board and not including the lip (the area for snapping together around the whole plank).
Stagger the pieces so that the seams are not all matched up. We started with a full piece and then took the cut end to start the next row. Be sure to check periodically to make sure you’re staying straight to your lines.

After tapping the piece into place using the hitting block and a rubber mallet, we would tap the rubber mallet along the seam to make sure it was snapped into place.
As you begin to install the first few rows, do not be alarmed when it looks like the flooring is lifting up from the subfloor. Because it is a floating floor, it does look like it’s not installing properly. Once it all gets locked in, it’s fine.
Occasionally, the planks weren’t snapping tightly together. We realized that some of the snap edges would get a little crushed and wouldn’t allow a tight fit. To resolve this, we took the flat end of a pry bar and slide it down the edge to smooth out any smooshed areas.
It’s a little fussy to install in the last row and we had two doorways to content with and that moulding was really a challenge. In most cases, the board will need to be trimmed to the proper size.
Final Thoughts
We were able to move the furniture in right away since there is no glue involved in the installation. Connell loves the new space.
Overall, the Pergo product was easy to install and I would say is an intermediate-level home improvement project because of the amount of tools involved. I can’t wait to do the rest of the basement.